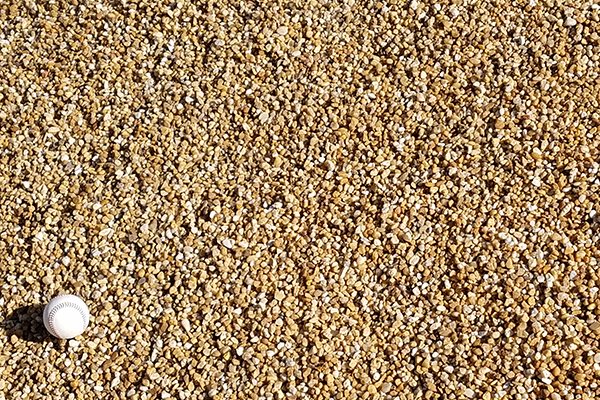
Creating a pea gravel sub-base for your concrete slab is a straightforward process that involves several critical steps to ensure the stability and longevity of your concrete. Here’s a detailed guide to help you through the process:
Materials Needed:
- Pea gravel (purchase from Saunders and have it delivered for FREE)
- Compactor (plate compactor or hand tamper)
- Geotextile fabric (optional)
- Measuring tape
- Shovel and rake
- Straight edge
- Pressure-treated wood boards (for framing, if necessary)
Step-by-Step Instructions:
- Excavate the Area:
- Mark the area where you plan to pour the concrete slab.
- Excavate the soil to a depth that allows for a 4-6 inch layer of pea gravel plus the thickness of the concrete slab. This typically means excavating about 7-10 inches deep.
- Ensure the area is clear of vegetation, roots, and debris.
- Prepare the Soil:
- Compact the soil at the bottom of the excavation using a hand tamper or plate compactor. This step is crucial to remove air pockets and create a stable base.
- Optionally, lay down geotextile fabric over the compacted soil to prevent soil erosion and mixing with the gravel.
- Frame the Area (if necessary):
- Use pressure-treated wood boards to frame the area, ensuring the edges are straight and level. This helps keep the gravel contained and provides a guide for the concrete pour.
- Add and Level the Pea Gravel:
- Spread a 4-6 inch layer of pea gravel evenly across the excavation using a shovel and rake. Ensure the gravel layer is slightly thicker in the middle to help with drainage.
- Use a straight edge to level the surface of the pea gravel.
- Compact the Gravel:
- Compact the pea gravel using a plate compactor or hand tamper. If the gravel layer is more than 3 inches thick, compact it in 3-inch increments to ensure thorough compaction.
- Check the level of the gravel frequently and adjust as necessary to maintain a uniform surface.
- Final Preparations:
- If using rigid foam insulation, place it on top of the compacted pea gravel. Ensure the foam boards fit snugly and do not interfere with the gravel layer.
- Consider installing a vapor barrier directly above the gravel and foam to prevent moisture from wicking up into the concrete slab.
- Ready for Concrete:
- Once the pea gravel sub-base is properly compacted and level, you can proceed with pouring the concrete. Ensure the concrete is poured evenly to avoid creating weak spots (Plasticine House) (Hunker).
Following these steps will help you create a strong and stable pea gravel sub-base, ensuring the durability and longevity of your concrete slab. Proper preparation and attention to detail at each stage are key to a successful project.

